How to sync your MailSafi Calendar on iOS device
This is a step-by-step guide on how to connect the iOS Calendar app to your MailSafi calendar. The first step in setting up any third-party app to work with the MailSafi calendar is creating a CalDAV connection. If you haven’t already done this, click here for a guide on creating a CalDAV connection.
1. Add account
• Click on Settings on your home screen
• Click on Accounts
• Click on Add Account
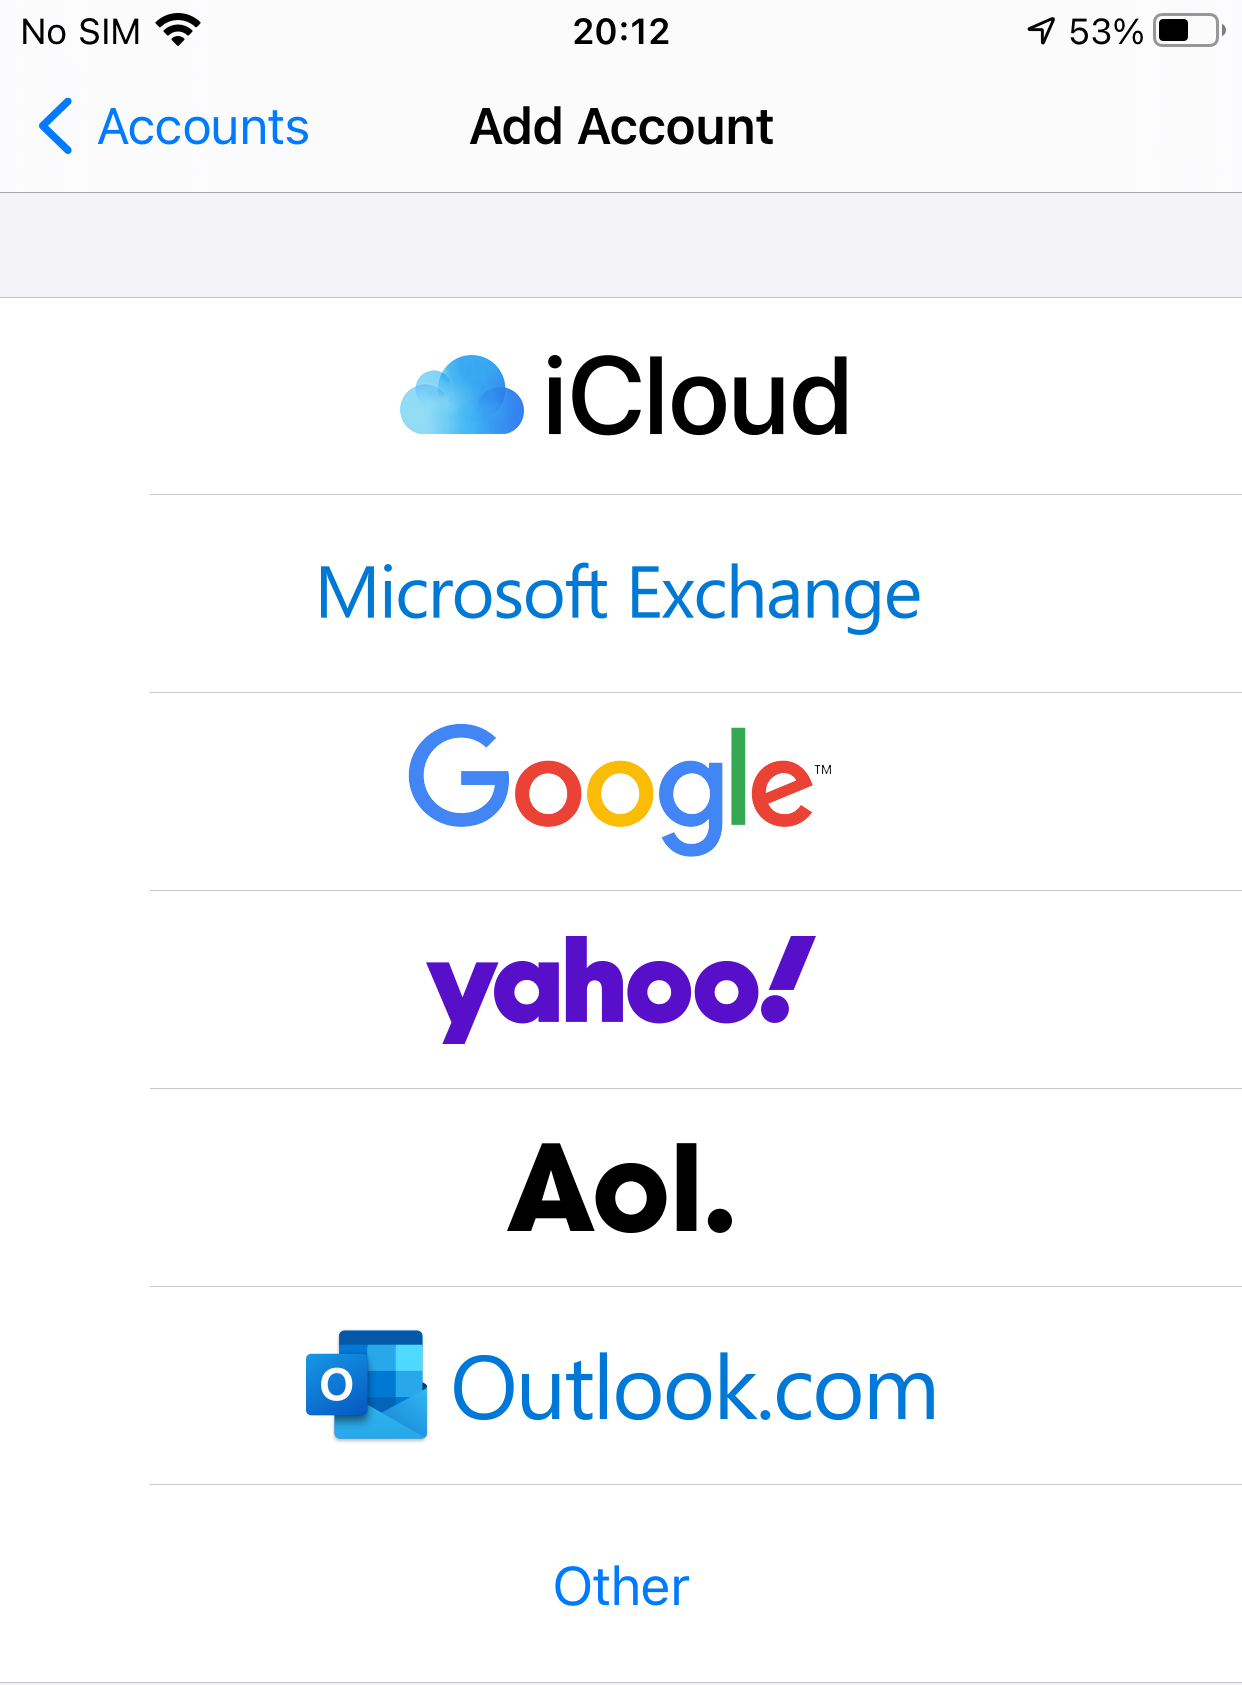
2. In the Add Account screen, choose Other
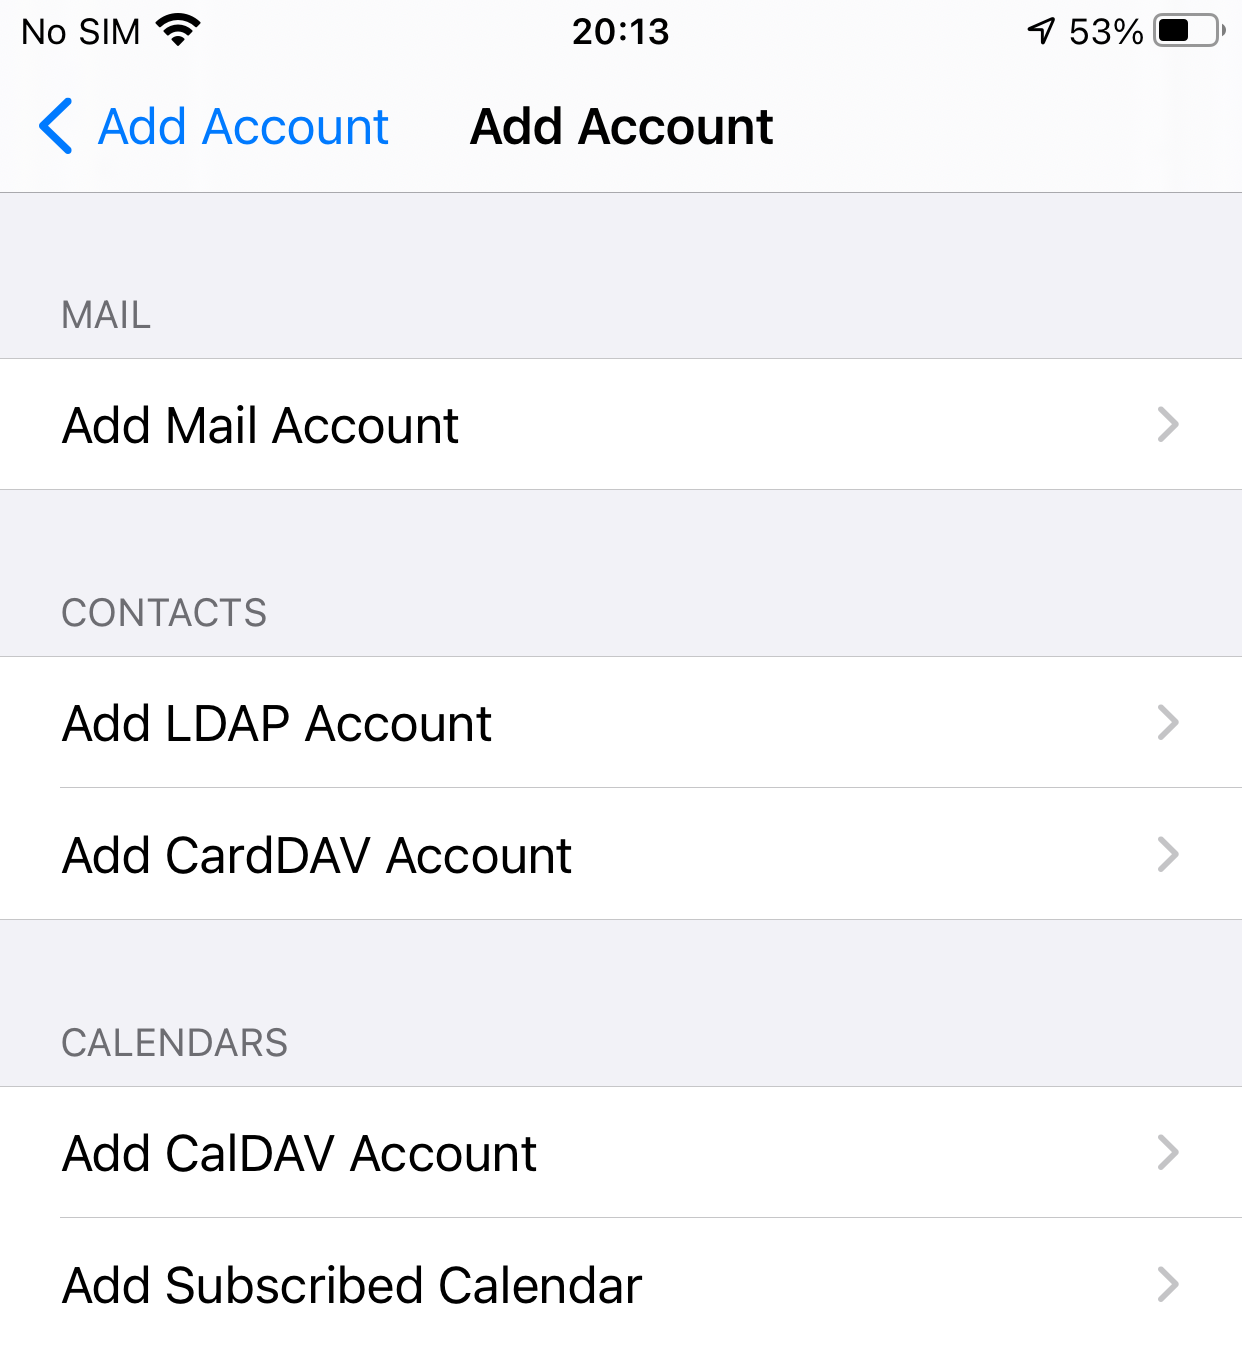
3. Click on Add CalDAV Account under CALENDARS
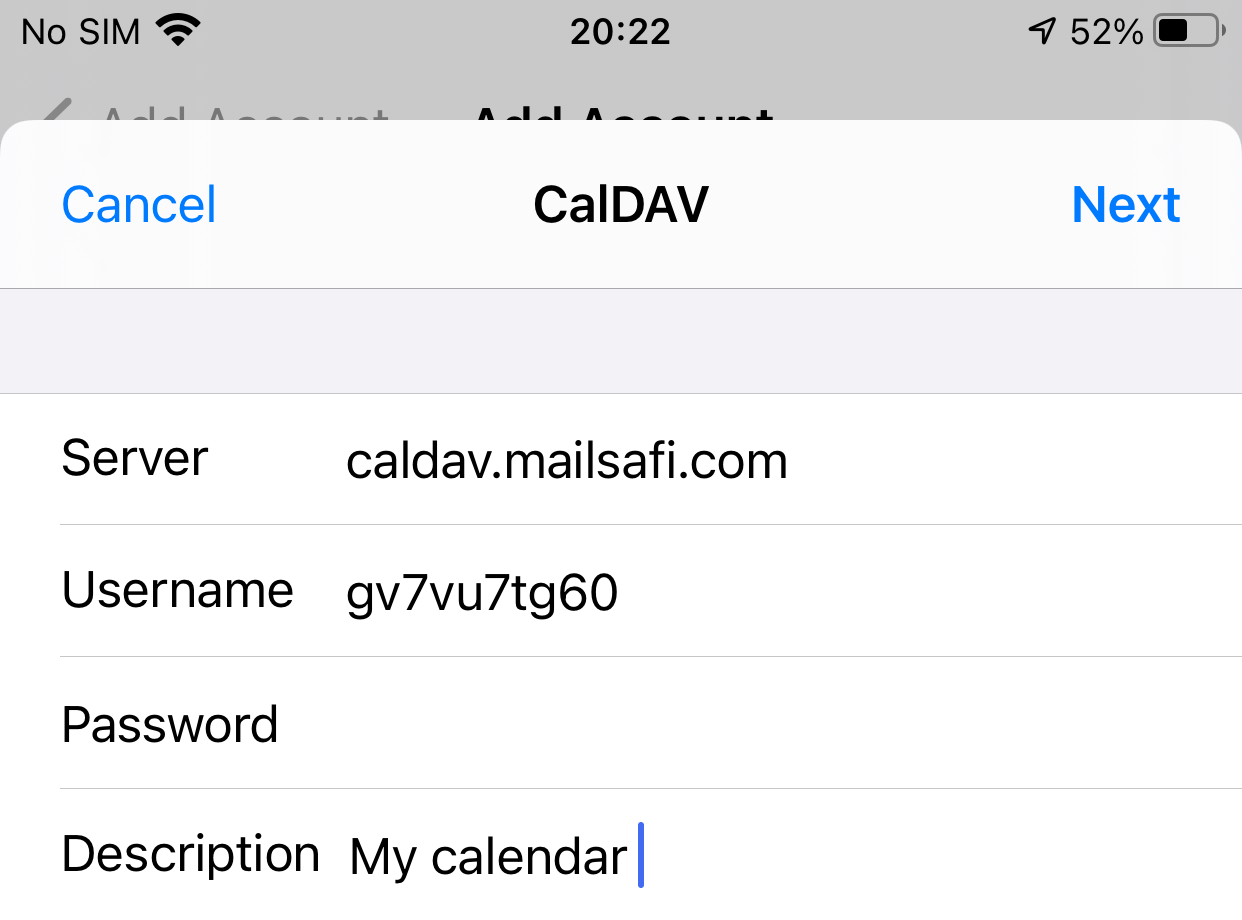
4. Key in the calendar details
Username: Enter the Email ID in the CalDAV connection you created under your MailSafi calendar.
Password: Enter the password you chose when creating the CalDAV connection under your MailSafi calendar.
Description: Type a description of the calendar.
Click Next
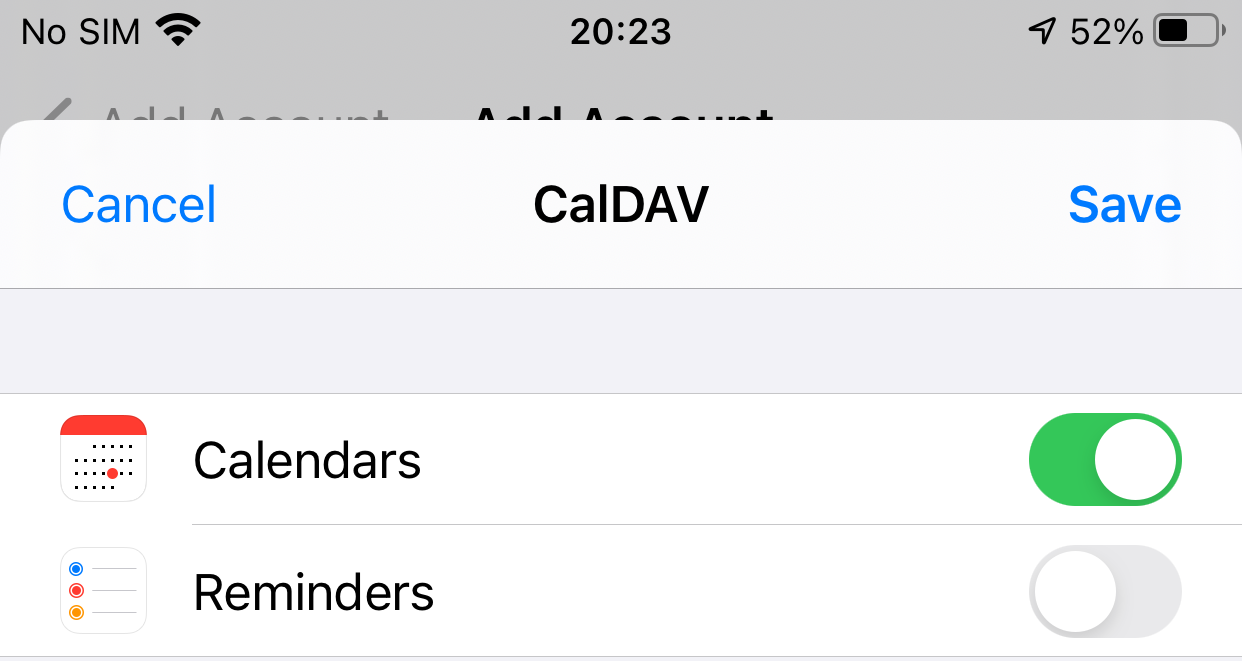
5. Deactivate Reminders and click Save.
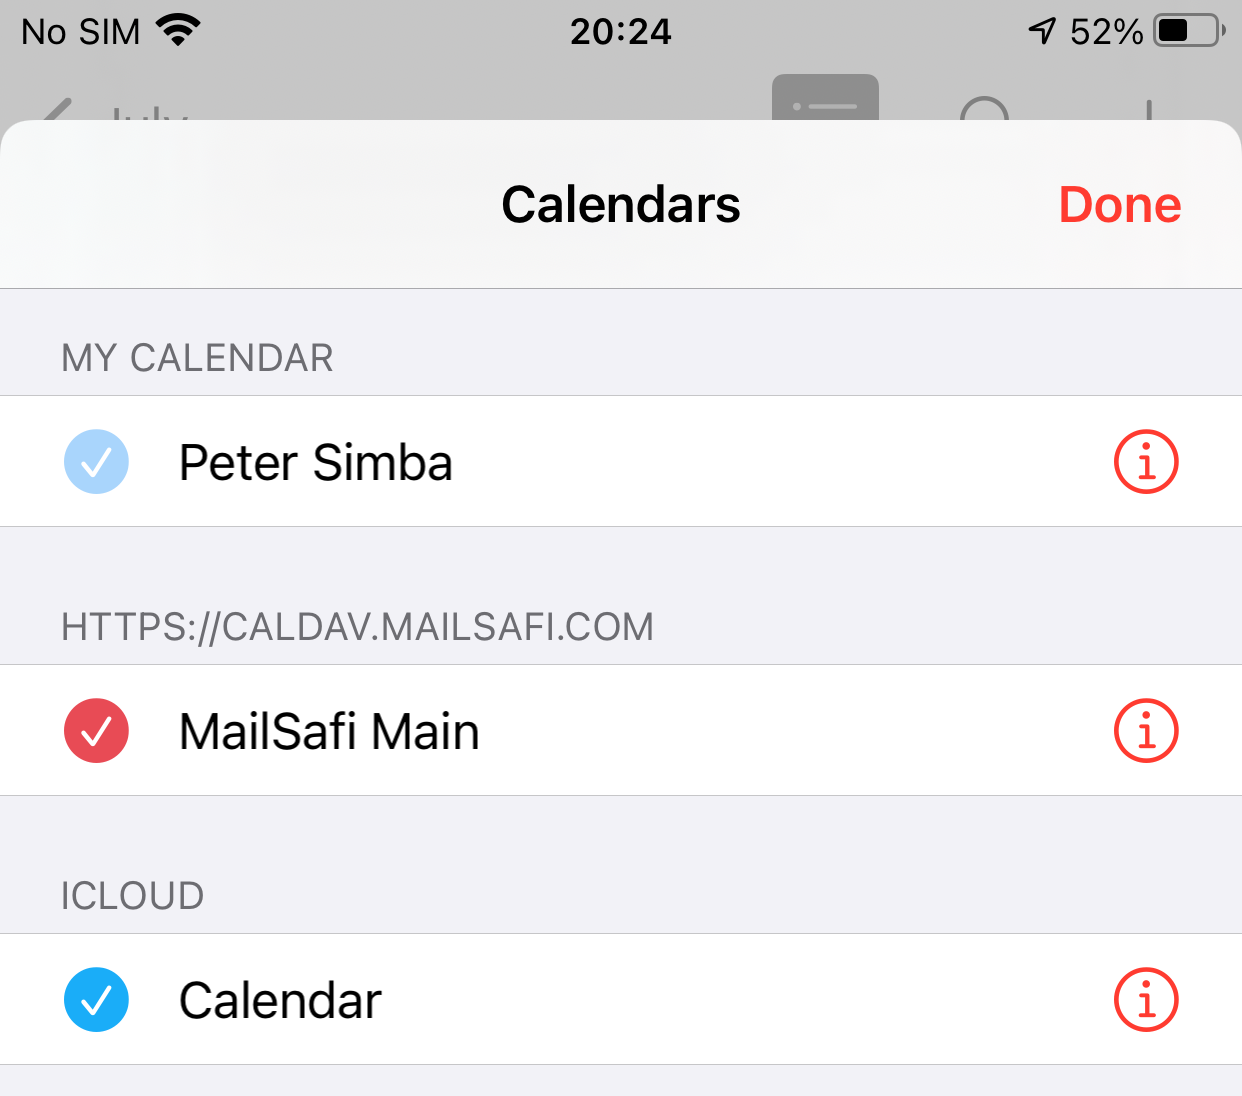
6. When you open the Calendar app on your iOS device and click Calendars you should now see your calendar in the list of calendars.